
How to Scan Old Photos and Keep a Useful Digital Copy
Copy old photos with a phone or scanner, check glare and useful detail, and keep an organized master and edited copy with a downloadable inventory.
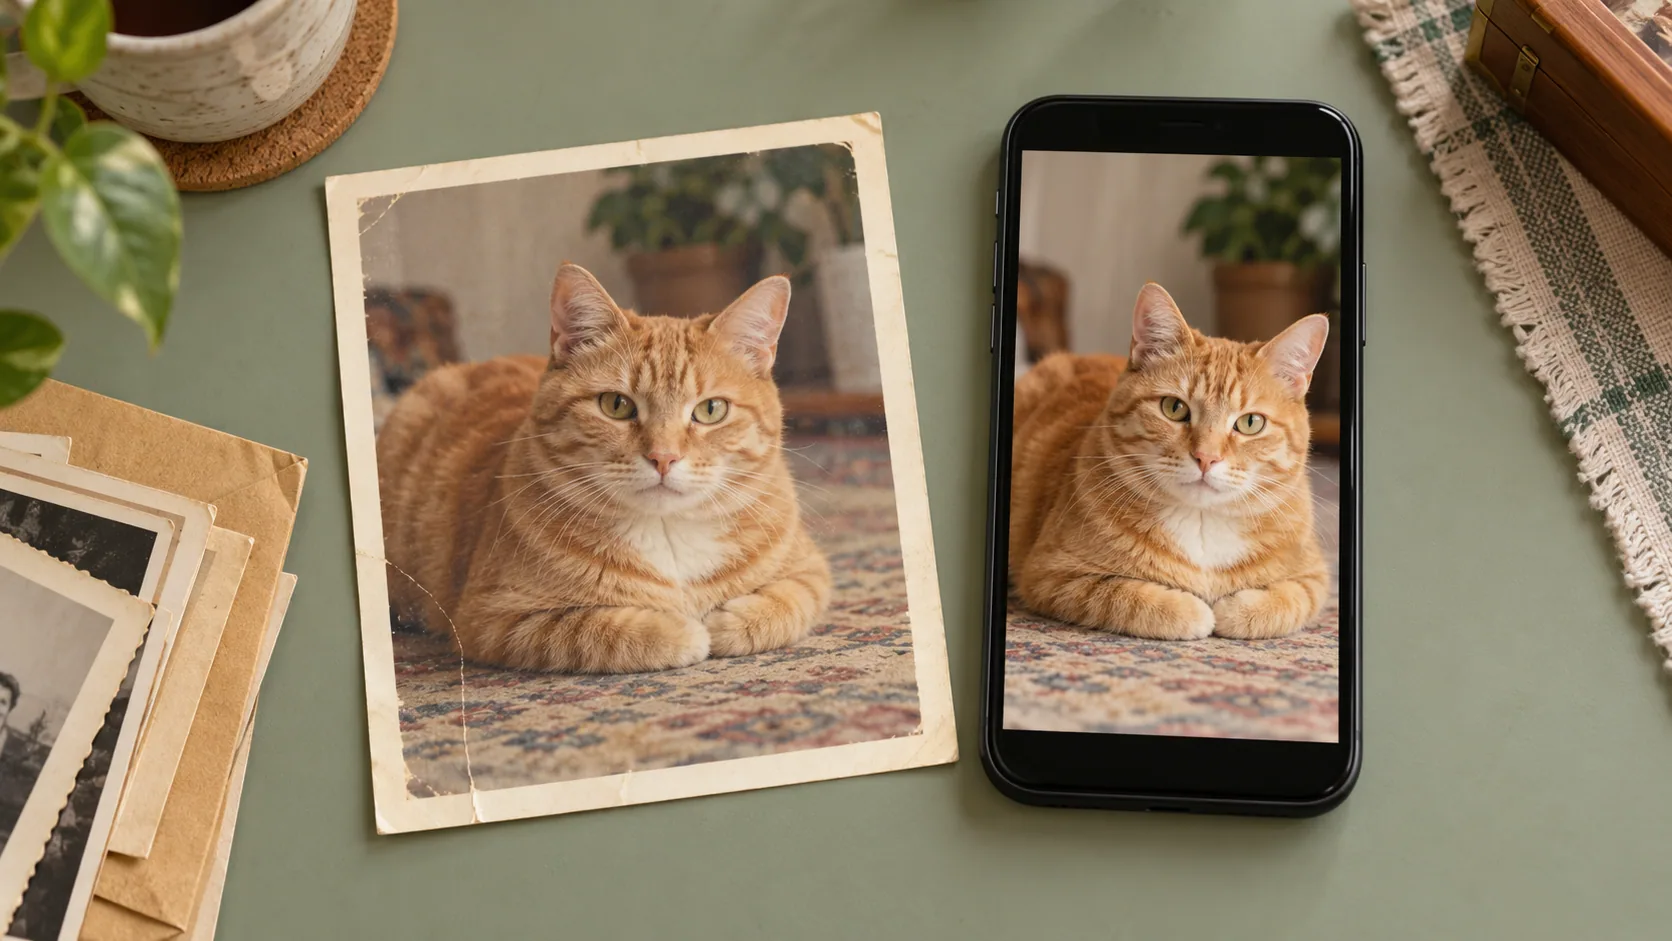
Table of Contents
To scan an old photograph, first make a clean, complete digital copy, then edit a separate version. Preserve the edges and any useful writing, check glare and focus, and keep enough information to connect the file back to the physical original.
A scanner is useful for flat, stable prints. A carefully positioned phone can be a practical alternative when a scanner is unavailable or the photograph cannot safely be placed flat. Neither method guarantees that missing detail will reappear.
Handle the original before thinking about resolution
Work on a clean, dry surface and handle a print by its edges. Do not force a curled or fragile photograph flat, pull it from an album where it is stuck, or apply household cleaners. If the object is damaged or valuable, seek appropriate conservation advice before attempting a copying method that could harm it.
The Library of Congress photograph-care guide recommends edge handling, a clean work area and avoiding adhesives on photographs. It also cautions that even soft brushes can scratch a photograph; do not treat a copying session as a restoration project.
Photograph or scan the back separately when it contains names, dates or notes. Record uncertain information as uncertain. A handwritten date may describe an event, a print order or a later annotation.
Choose phone or flatbed
| Situation | Practical route | Main check |
|---|---|---|
| Stable loose print, scanner available | Flatbed scanner | Clean glass, full edges, actual optical detail |
| Print in an album | Phone or camera above the page | Avoid forcing the binding or causing glare |
| Large print | Camera copy or suitable large scanner | Parallel alignment and even illumination |
| Fragile or stuck photograph | Professional advice first | Avoid damage from handling |
This is a decision guide, not a measured comparison of particular devices. Keep the device model and settings in your record if you compare methods yourself.
Make a phone copy without obvious glare
Place the photograph in even light. Hold the camera parallel to its surface so rectangular edges stay rectangular. Keep the entire print in view with a small surrounding margin. Move the lights or your position until reflections leave the important image area; do not accept a white glare patch over the eyes.
Take more than one frame and inspect the result closely. A sharply focused border does not necessarily mean the central photograph is sharp if the camera was tilted.
Choose useful scanner settings
Use a resolution that captures the detail you need from the original, within the scanner's actual optical capability. For example, a 4 × 6 inch print sampled at 600 pixels per inch produces approximately 2400 × 3600 pixels. That arithmetic does not prove the print contains that much genuine detail.
Avoid treating an interpolated setting as new information. Check the device's documentation and compare a small detailed area when deciding whether a higher setting adds anything useful. Turn automatic corrections into a deliberate choice, not an unnoticed permanent change to the only copy.
Check one scan before scanning the box
Use the same stable print for your first two settings and inspect the same small area at 100% view. A 4 × 6 inch print at 300 PPI gives about 1200 × 1800 pixels; at 600 PPI it gives about 2400 × 3600. The latter has four times the pixel count, not a guarantee of four times the visible detail. Check the scanner's optical specification and the actual result before spending time on a whole box.
| Check | Pass condition | If it fails |
|---|---|---|
| Complete record | All four edges and any relevant back annotation are saved | Capture the missing side or edge before moving on |
| Useful detail | The cat's face and any small writing are in focus | Check alignment, focus and the capture setting |
| Light | No reflection hides an important part of the image | Change the lighting or camera position |
| Identity | Front and back share an inventory ID | Rename the pair and record the physical location |
| Backup | A second copy opens from its separate destination | Recopy and verify before editing the master |
These are inspection steps you can repeat, not a claim that we tested your scanner or restored a damaged original.
Plan a batch without losing the originals' context
Before copying a large collection, try a small mixed batch: one glossy print, one faded print and one image with writing on the back. Check the files before committing to the whole archive. Keep front and back together with names such as cat-001-front and cat-001-back.
For many photographs, compare the work you can do yourself with a service's current handling, return and delivery terms. Request a quote based on the actual number, sizes and condition; a search snippet cannot establish the cost of your collection.
Use the inventory to record completed copies and uncertain dates. A phone copy can be useful when a scanner is unavailable, but glare, focus and perspective still need inspection. Keep an untouched digital master before making a portrait-ready crop.
Keep a master and an edited copy
Save a high-quality master with the complete image area, then make a separate copy for rotation, cropping and tonal adjustments. Use filenames such as family-cat-circa-1988-front-master and family-cat-circa-1988-front-edited.
The scan inventory records physical location, estimated date, device, settings and backup. Keep another copy on a separate storage destination and check that you can open it.
AI restoration or portrait generation can invent plausible details. If you use a scanned cat photo with Frameow, treat the result as a new artistic interpretation and retain the scan as the documentary record. A generated eye color, marking or room detail is not evidence of what the original photograph once showed.
Cat portrait tutorials, creative gift ideas, and new styles from the Frameow team.