
Cat Portrait Gallery Wall: Three Measured Layouts
Plan a cat portrait gallery wall with three measured arrangements, outer-frame dimensions, paper templates and a spacing checklist.
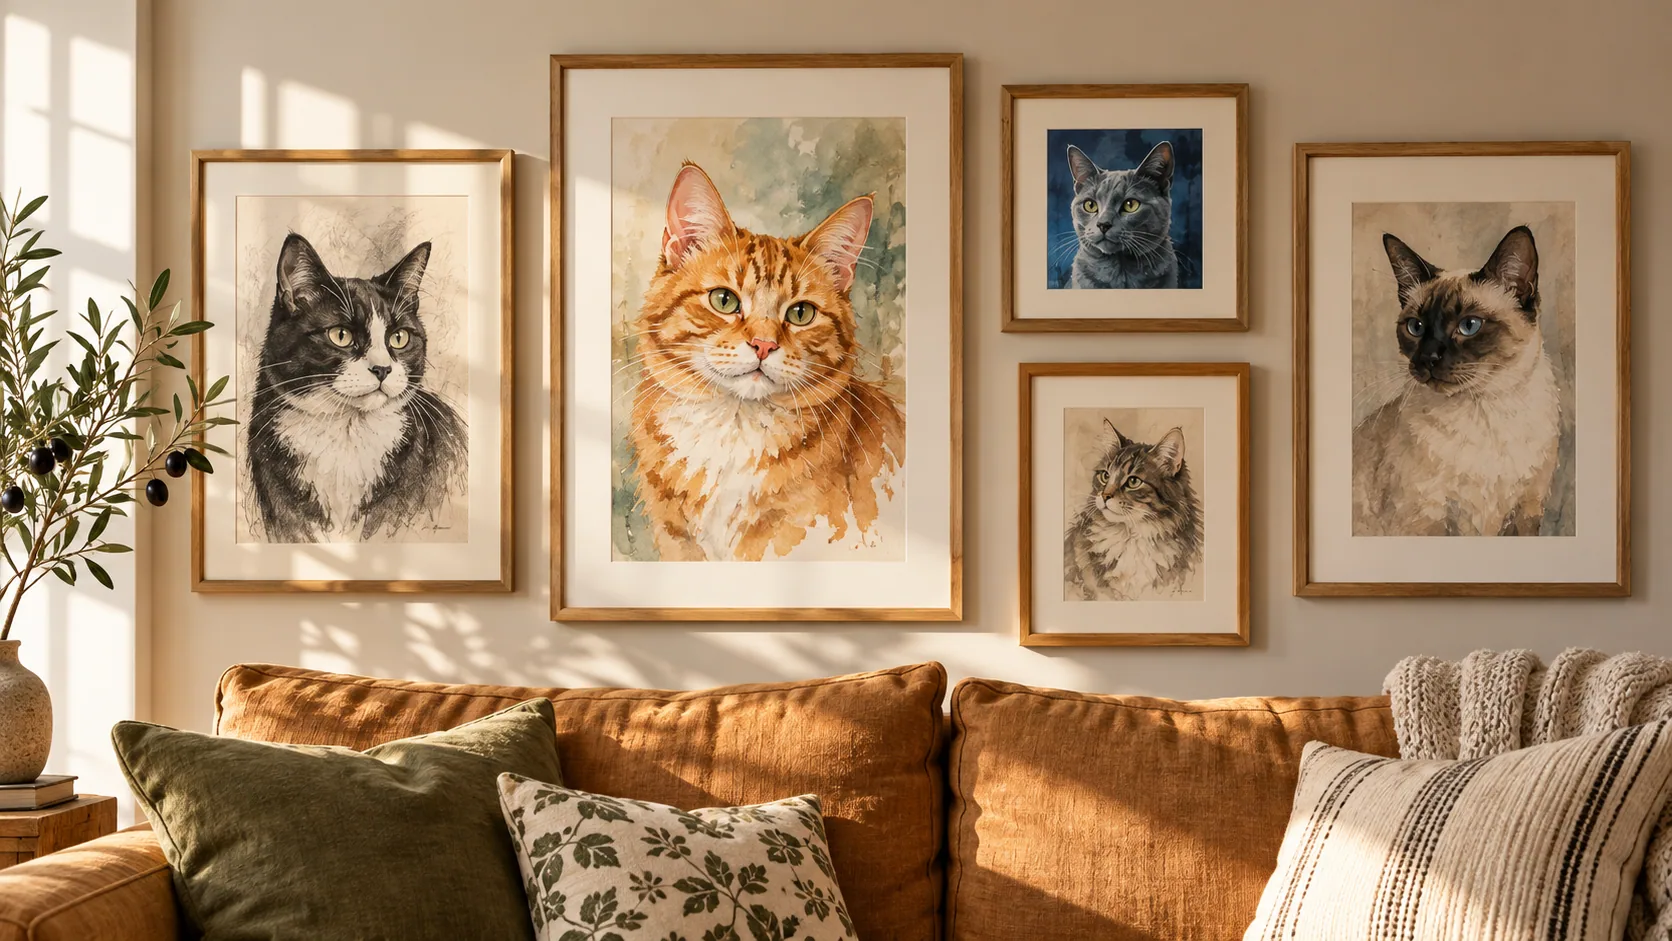
Table of Contents
Start with the outside measurements of your frames, then add the gaps. A frame sold for an 8 × 10-inch print is usually larger than that on the wall. Using the print size to plan the group can leave the last frame outside your available space.
The three plans below use illustrative outer dimensions. They are measured diagrams, not photographs of installed rooms. Substitute the dimensions of your own frames before making holes.
Download the editable layout sheet.
Plan A: two portraits with equal weight
Two frames measuring 12 × 15 inches, separated by a 2-inch gap, make a group 26 inches wide and 15 inches high. This gives two cats equal space without requiring the same crop or background in both pictures.
Align the top edges if the frames match. When they do not, try aligning the centers on paper first. Check whether a tall-eared cat feels squeezed beside a looser crop; equal frame dimensions do not necessarily create equal visual weight.
Plan B: a four-picture grid
Four 9 × 12-inch frames with 2-inch gaps make a group 20 × 26 inches: two frame widths plus one horizontal gap, and two frame heights plus one vertical gap.
A useful sequence is a familiar face, a full-body photograph, a small detail and a favorite resting place. Four nearly identical faces can work as a series, but choosing four different memories gives each position a purpose. Keep the mat color consistent if the photographs already have varied lighting.
Plan C: one large portrait and two companions
Place a 14 × 16-inch central frame between two 9 × 12-inch frames, with 2-inch gaps. The group is 36 × 16 inches when the smaller frames share the large frame's bottom edge.
Use the center for the strongest image. The side pictures can carry quieter details: a paw, a familiar window or a short handwritten memory. They do not need to compete with the main face.
Test the footprint before hanging
- Measure usable wall width and height, excluding switches, doors and furniture that might move.
- Cut paper rectangles to the actual outer dimensions. Label each with its picture and orientation.
- Arrange them on the floor. Measure the whole group, including gaps.
- Test wall placement with a temporary method appropriate for that wall finish. Step back and view it from the seat or doorway where it will normally be seen.
- Mark each frame's actual hanger position separately. A center mark on the paper is not necessarily where the hook belongs.
Choose hardware for the wall and the loaded frame, following its manufacturer's instructions. These diagrams specify layout, not fastener strength or installation height.
Keep one thing consistent
Use a repeated mat color, frame finish or spacing rhythm to connect different images. There is no need to make every portrait the same style. Leave enough space around faces that small differences in mat openings will not hide ears or whiskers.
If you are starting with digital art, check the file and print size before ordering frames. Frameow supplies digital portraits; frames, printing and wall installation are separate.
Choose wall art by the available footprint
Measure the whole available area before deciding how many pieces it needs. A single large picture, a matching pair and a small grid solve different spaces. Do not turn the number of empty wall inches into a requirement to fill every gap.
Use the plans above as footprints, then compare them with the furniture below and the normal viewing position. The examples are dimensioned simulations; they do not show a tested room installation or a shopping collection.
Cat portrait tutorials, creative gift ideas, and new styles from the Frameow team.