
Cat Stencil Planning: A PNG Reference and a Bridge Guide
Download a cat silhouette reference, trace a solid outline and learn why interior details need bridges before cutting a stencil.
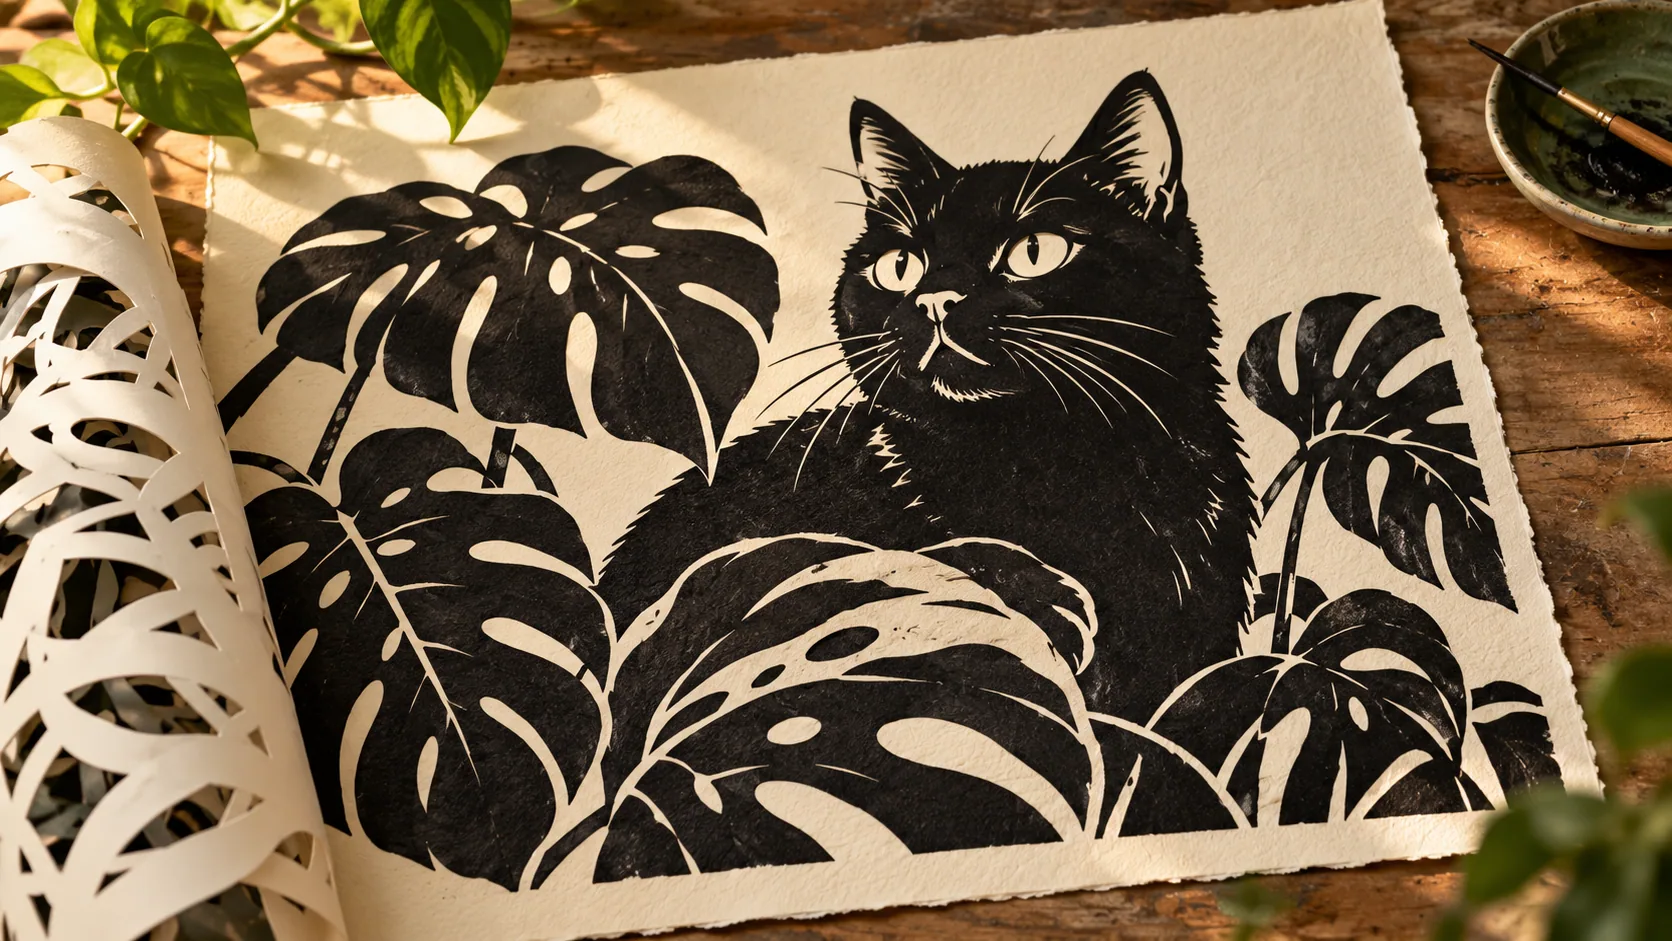
Table of Contents
Start with a solid silhouette if you are making your first cat stencil. It avoids the loose interior pieces created by eyes, spots and other enclosed details. Our downloadable design is intentionally simple: the outline carries the cat.
Download the seated-cat PNG reference. This AI-generated raster illustration has a transparent background. Trace and simplify its outside contour into one solid shape before cutting; do not treat the small interior accents as cutting lines. It is not an editable vector, machine-tested cutting preset or completed physical print.

AI-generated shape references. Use the seated pose at left for the solid-outline exercise below.
Decide which area becomes the opening
In the supplied design, treat the dark cat as the area to remove if you want paint to form a dark cat on a lighter surface. Mark that decision on a paper copy before cutting. Reversing positive and negative areas produces a different result.
Leave enough surrounding material to position and hold the stencil according to your chosen process. The file does not specify material thickness, blade pressure or machine settings; those depend on the tools and material you use.
Understand bridges before adding a face
An enclosed light eye inside a dark cutout is an island. If you remove the surrounding dark area, that island has nothing holding it in place. A bridge is a strip connecting it to the surrounding stencil.
Rather than cutting very small facial details immediately, try three paper sketches: a completely solid cat, a cat with one open stripe connected to the edge, and a cat with a deliberately bridged eye. Compare them at actual size. The simplest version may be the most readable.
Separate the design test from the paint test
First test whether the cut geometry stays connected and can be handled. Then test the marking process on a scrap surface. Those are different checks: a strong stencil can still produce blurred edges if the paint application or surface is unsuitable.
Record the material, final size and what changed between attempts. If a narrow ear tip bends or an interior detail tears, adjust the design locally rather than assuming more force will solve the problem.
Use tools according to their safety instructions. In a classroom, the adult should decide which cutting and marking methods are appropriate; a downloadable reference does not make a cutting activity suitable for every age.
Adapt the outline to your own cat
Work from an authorized reference. Simplify the largest identifying features, such as ear angle, face width or tail curve, before trying to include fur texture. Keep the unmodified template and save your adapted version separately.
This guide covers design planning and connectivity. A physical cut-and-paint trial is still needed to validate a particular material, scale and use.
Cat portrait tutorials, creative gift ideas, and new styles from the Frameow team.