
Double-Exposure Cat Portraits: A Mask-First Workflow
Plan a double-exposure cat portrait with a silhouette, a second image and an editable mask. Try a local clipping demo before building detailed layers.
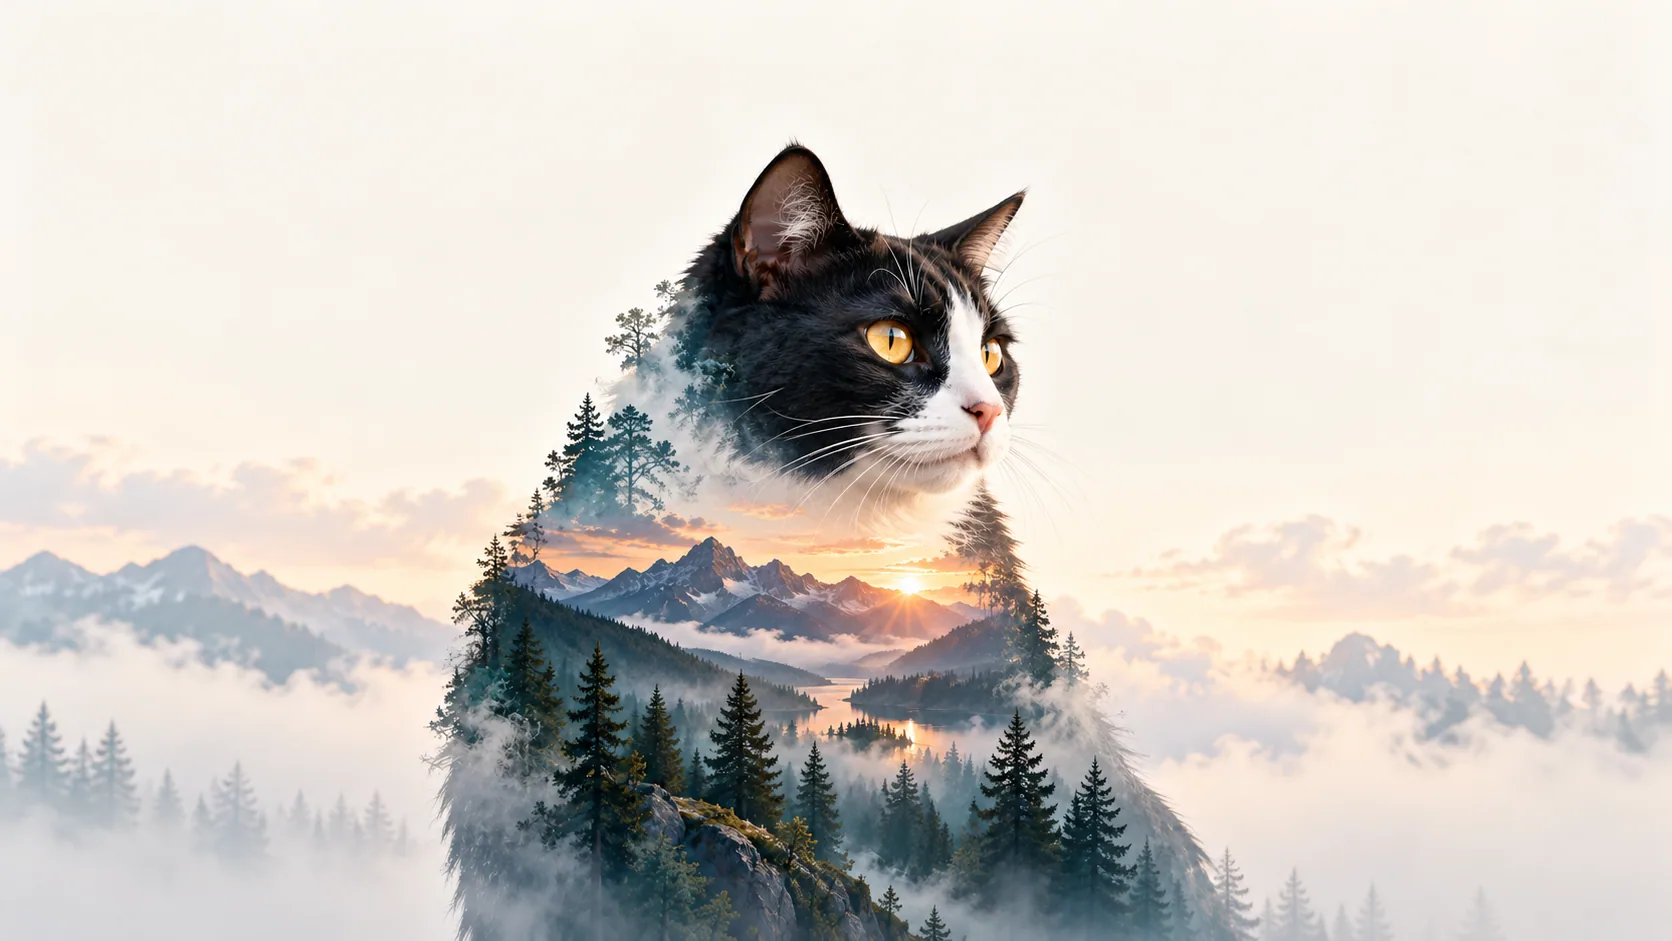
Table of Contents
For a double-exposure effect, make the cat readable first and introduce the second image second. A bright branch crossing both eyes can overwhelm the portrait even when the mask is technically correct. Choose which information matters: the familiar face, the outline, or the scene inside it.
Our local silhouette composite demo places a picture inside an original generic cat shape. It lets you explore image placement without an account. It does not trace your cat, remove a background or reproduce a layered photographic double exposure.
Start with two images that have different jobs
Use a cat photograph whose outline separates from its background. Choose a second image with broad light and dark areas: a tree line, clouds or a view you photographed yourself. Begin with a simple image; dozens of small bright details make it harder to protect the face.
Keep unmodified originals. Work on duplicates so a poor mask does not cost you the only version of a favorite photograph.
Build a mask instead of erasing
In a layered editor, put the scene above the cat layer and give the scene a mask shaped to the cat. The Photopea mask documentation explains the underlying rule: white reveals, black hides and gray gives partial visibility. The layer image and mask have separate thumbnails; select the mask before painting on it.
Photopea documents adding a raster mask through Layer → Raster Mask → Add. This is a documentation-based workflow, not a claim that we tested every current editor control. First practice hiding one corner and revealing it again. If your brush changes the picture's color, undo and select the mask thumbnail.
Protect the eyes and silhouette
Try the scene in three positions: low across the chest, behind the ears and across one side of the face. At each position, shrink the view. Can you still see the ear tips and distinguish the head from the body?
Use a partially transparent mask where the face needs to remain visible. Keep a sharp edge only where it serves the outline. Excessive feathering can produce a bright halo; reduce it and refine the edge locally rather than blurring the entire portrait.
Diagnose three common failures
| What you see | What to change first |
|---|---|
| The face disappears into foliage | Move the scene or hide it over the eyes and muzzle |
| The result looks like a plain cutout | Let some original facial detail show through; reconsider the two images' contrast |
| A light rim surrounds the cat | Inspect the original background in the selection and reduce overly broad feathering |
Export a viewing copy, but retain the layered project in your editor's native format. A PNG preserves the final pixels, not the separately adjustable mask. Review at the final display size before calling the composition finished.
Cat portrait tutorials, creative gift ideas, and new styles from the Frameow team.