
Resize Art for a Frame: Crop, Fit or Extend the Canvas
Match artwork to a frame without stretching it. Work through a 3:4-to-4:5 example, calculate pixels per inch and choose crop, borders or extra canvas.
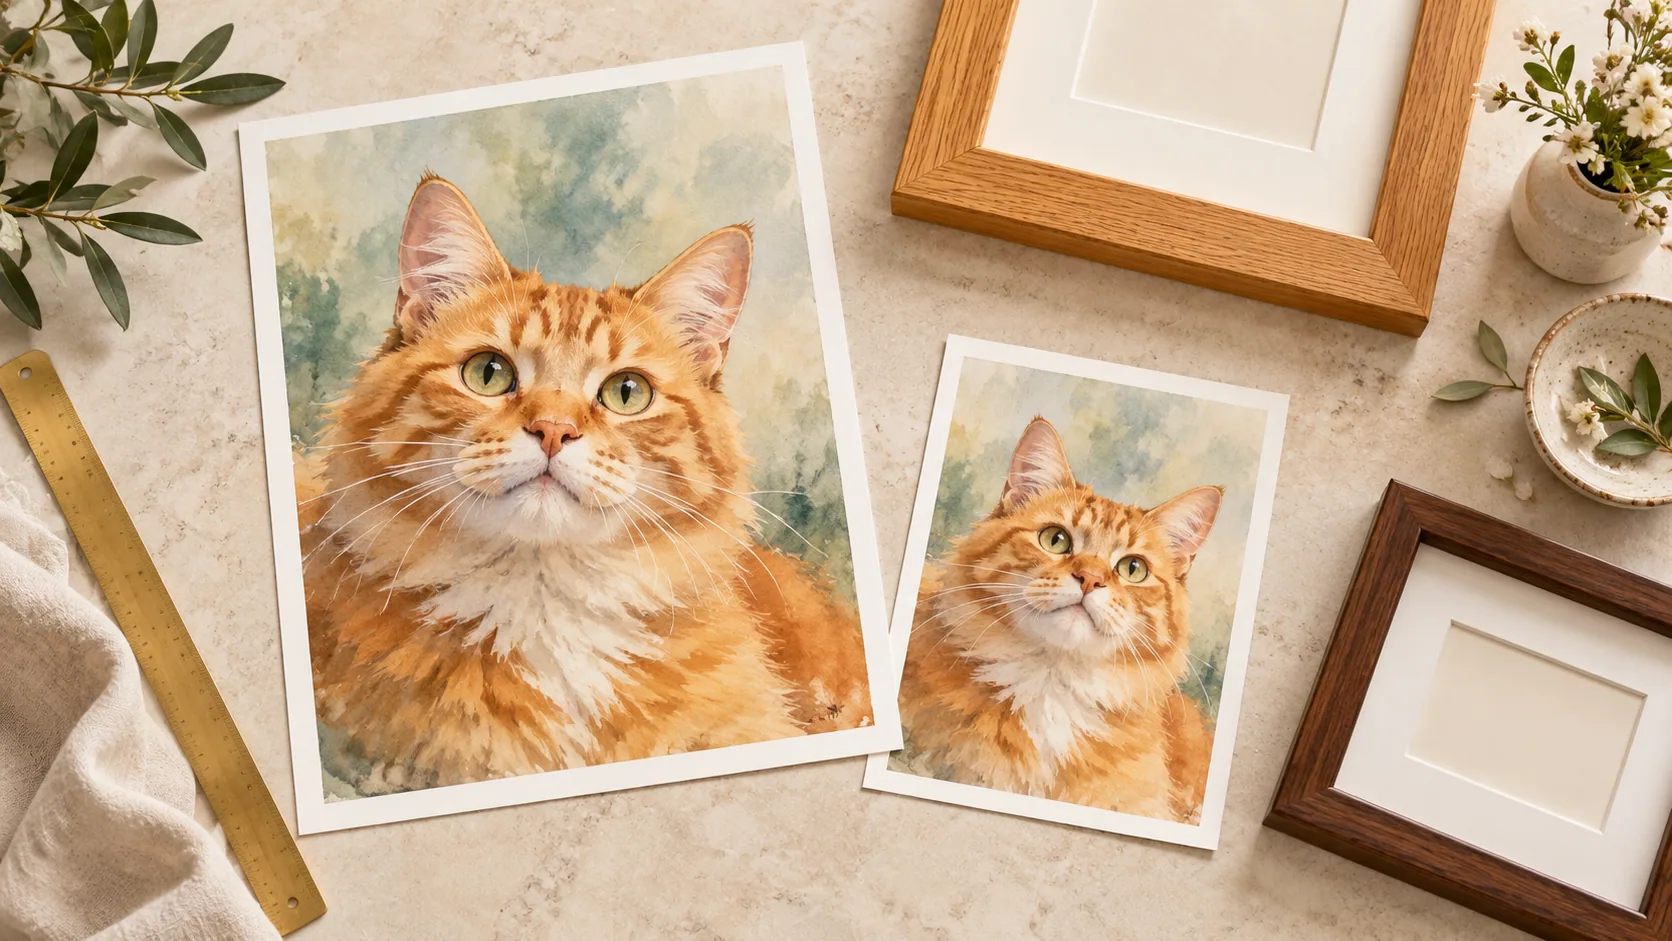
Table of Contents
Changing a file's pixel count and changing its proportions are different operations. Resizing a 3:4 picture to fill a 4:5 frame without a crop or border stretches the image. To preserve the cat's face, choose crop, fit or extend the canvas deliberately.
Use the numerical comparison below to plan the export. These are geometric calculations, not a printer test; make the final crop on a copy of your own artwork.
Work out the target ratio first
An 8 × 10-inch opening has a width-to-height ratio of 4:5. A 9 × 12-inch opening has a ratio of 3:4. Rotating a frame reverses the orientation but does not make those proportions equivalent.
Use the actual visible opening when deciding what will show. Mats and frame lips can cover a little of the paper, so leave critical features away from the edges even when the file matches the nominal size.
Example: a 2400 × 3200 file in an 8 × 10 frame
| Method | What happens | What you preserve |
|---|---|---|
| Crop | Keep 2400 × 3000 pixels; remove 200 pixels of height | Full-width image, with less top or bottom space |
| Fit | Scale to 2250 × 3000 on a 2400 × 3000 canvas | Whole picture, with 75-pixel side borders |
| Extend | Add 80 pixels to each side of the original, making 2560 × 3200 | Whole picture and full target ratio, with new side canvas |
The crop gives 300 pixels per inch at 8 × 10. The fitted image uses the same output canvas, but the original occupies less of its width. The extended canvas gives 320 pixels per inch at that size before any later resampling.
These figures describe file geometry. They cannot prove that the source contains enough detail for a pleasing print.
Choose based on the edges
Crop when the expendable space is at the top and bottom. Move the crop up if the ears need room; do not automatically center it.
Fit when every edge matters or when you want a deliberate border. Make the side areas a chosen background color instead of allowing an export program to fill them unpredictably.
Extend when the background is simple enough to continue cleanly. Adding flat canvas is easy; reconstructing a missing ear is a different creative task. Do not treat invented anatomy as a faithful recovery of the original photograph.
Check the export before ordering
Save a new file so the original remains intact. Reopen it and check its pixel dimensions, orientation and visible edges. Preview it at the intended print size, then verify the printer's bleed and crop settings. Turn off automatic “fill” cropping if it would undo your chosen border.
For more about file dimensions and paper sizes, use the digital portrait printing guide. If the printer provides a template, that template's trim and safety instructions take precedence over this simplified example.
Cat portrait tutorials, creative gift ideas, and new styles from the Frameow team.